Gaming
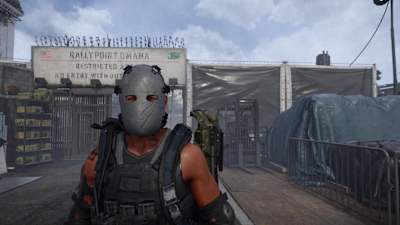
You may have spotted SHD Agents running around in The Division 2 wearing some rather cool-looking, uniquely decorated ballistic masks and wondered just where they got them. You might even have inadvertently stumbled into some of the super-lethal Agent Hunters, who sport them, and had your butt handed to you. In this handy guide, we'll detail where to find all 12 Hunters and how to obtain their masks, and we'll tell you how to do it all on your own.
It should be noted that these Hunter locations were originally hidden inside cryptic ciphers that were painstakingly solved by a group of dedicated fans, primarily on Reddit and the official The Division 2 Discord. Now solved, all you need to know are the Hunter locations and the triggers to summon them.
Incidentally, you'll also obtain Ivory Keys from eight of the 12, which will allow you to open the locked weapons crate in the White House to grab some tasty, unique cosmetics, and a named High-End CTAR Assault Rifle called the Shield Splinterer F-2000.
In order to trigger the appearance of Hunters in your world, you'll need to complete a Side Mission called Agent Edwards Support, which will appear at some point after you complete the Jefferson Plaza mission. It's worth noting that every Hunter that spawns will do so at Level 35, five levels above your cap, so it's not even worth engaging them until you've at least hit that – although we'd recommend waiting until you ascend to World Tier 1 and unlock a Specialisation for the extra firepower.
There's not much to do in the Side Mission except follow Manny Ortega's instructions and listen to creepy audio bites of the unfortunate Agent Edwards, who you'll eventually find on the top floor of a building near the Demolition Site Control Point. At this point, sadly, Ed is hella dead, and upon your discovery of him displayed as a kind of grisly trophy, the first Hunter will appear. It's not possible to win this fight, but it is possible to die. You must stay alive until he electrocutes you, at which point he'll basically throw down the gauntlet and invite you to come and get him, and the others like him. Then, he'll simply vanish.
The Demon mask
Agent Edward's killer is actually residing in this very building, and, unlike most of the other Hunters, can be summoned at any time of day. Simply make your way back down from the top level to the atrium, where you'll see a yellow-covered ledge you can mantle up onto.
If you turn around and look up, you'll see an orange supply crate you can shoot (and you should, as the first 10 of these you find will drop gear dyes) and a series of four target practice silhouettes in the windows above you. Shoot them all in descending order, and your HUD will buzz with interference and, in a cloud of smoke, Demon will appear.
If you're alone, this fight is tough, as the Hunters have extremely cautious and efficient AI. Demon will usually pop a drone first, followed by an EMP, so it's actually a good idea to have your own turret and drone already summoned. Grab cover immediately, eliminate his drone first, as it does incredibly heavy damage, and then hit him with everything you've got.
Be aware that the Hunters will heal themselves if you take their armour off and fail to kill them, and you can only interrupt it by setting them alight, so the Survivalist's incendiary grenades or a flame turret are ideal tools. Stay in cover and move with the Hunter. If you stay in one place, he'll eventually charge you, at which point one hit with his axe will kill you instantly – and if you're caught in the open, he’ll melt you in seconds. At level 30, even in WT1, this is an incredibly tough fight. If you die, you can keep respawning at the nearby Control Point until he eventually de-spawns, but whether that's related to how many times he kills you, or a timer, is unclear.
The Ghost mask
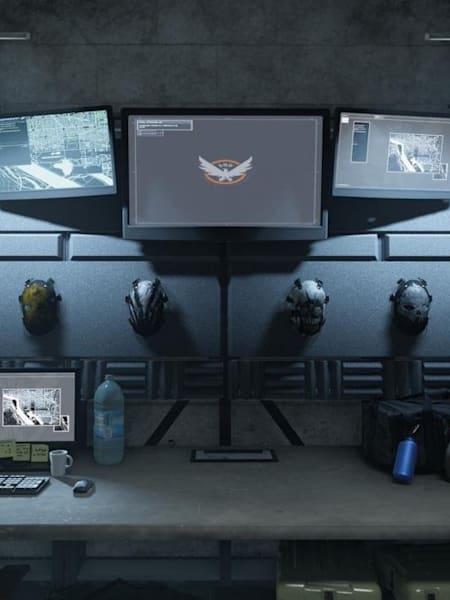
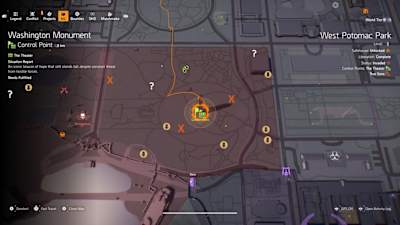
We'll discuss the Ghost next, because his trigger is the longest and most complex of all 12. He was also bugged until the DC Invasion update dropped, causing the community weeks of confusion. For this fight, you'll need to travel to and then capture the Washington Monument Control Point, and then follow the marker to the Supply Room. Once there, you'll notice that this is actually a Hunter den.
Behind the central statue is a switch that you can only activate at night. Hitting it will reveal a map on the screen above, detailing the location of three graves, which you'll need to travel to and Salute using the emote between the hours of 6am and 3pm. You'll know if it's right, because each salute will cause your HUD to buzz with the tell-tale static.
Once this is done, you'll need to return to the Monument at night and push the button again, which this time will reveal an orange SHD circle, and activate a matching light in the courtyard outside. Simply head back up and step into the circle to trigger Ghost. Handily, since he spawns inside the Control Point, your militia allies will rush to your aid, distracting him and chipping at his armour. If you can flank him with an LMG or a decent AR, you should be able to take him out fairly easily.
The Wraith mask
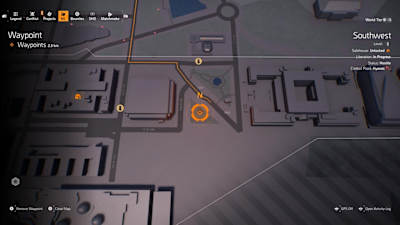
Wraith haunts a war memorial in the Southwest of DC, which can be found near 2nd St SW. Inside, you'll find a wall of names in front of a flag, illuminated by a single floor light. It must be after 9pm to spawn Wraith (and if you need to check the time, the only way to do it is to open up Photo Mode).
You need to shoot out the light and then stand behind the flag, out of the water, and salute the memorial. Wraith will appear in front of you and immediately cut for cover while popping an EMP. There's less cover here for him to use, so you should be able to force him into the open with a few well-placed grenades and Skills.
The Ghoul mask
This is a tough fight solo, and there's a bit of messing around to do before you can summon Ghoul, too. First, you'll need to go to the Safe House in the south of the map, where all the construction vehicles are scattered along the water's edge. Heading down into the underground here, you'll come to a room with an ECHO, which is actually another den.
On the wall is a large map, and you'll need to activate the laptop beneath it to light it up. It'll reveal the image of a moon, and an X to mark the spot.
Head to the location shown after dark and you'll see a crude wooden watchtower with a single hook-light twisting in the wind. It's right near a SHD Cache on the map if you're unclear. If you've done it right, and it's late enough, the bulb will be on. Shoot it out, and the Hunter will spawn right there on the watchtower.
Ghoul hits super-hard and moves fast, and despite the abundance of cover, he'll use a drone and seeker mines to flush you out – and they're on way shorter cooldown timers than yours. The best method to kill him is to spawn him, and then trigger one of the many enemy patrols in the area, bringing them in to cause a distraction. It's worth noting that if you die and respawn at the Safe House, he may well move if you leave him engaging the enemy, and you'll need to keep both eyes open on the approach.
The Crimson mask
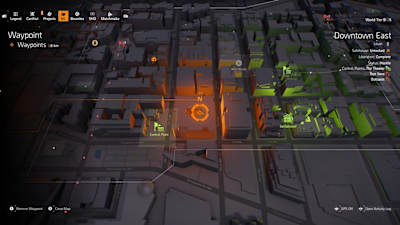
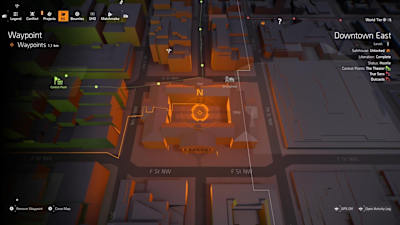
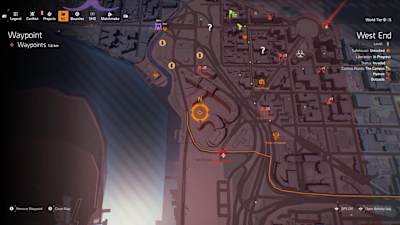
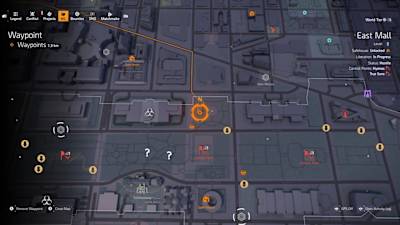
The hardest thing about this fight is that you trigger Crimson out in the open, and he has a fondness for explosives. You'll need to head to a point on the map in Downtown East where there's a large rectangular building, on F St NW.
Inside the building you'll find a courtyard where, at any time of day, you can wander in and locate two offices. In one is a laptop, the other a phone. Activating both within a few seconds of each other (so you'll have to sprint), will cause Crimson to spawn outside. The hardest part is that by the time you get to the doorway, he'll have summoned his drone and deployed a seeker mine. He'll also use incendiaries to burn you down.
If you die, getting back in will be tough, as he'll set up shop at the far side of the courtyard and wait patiently for you to walk into his EMP blast. You can sometimes find an enemy patrol in the courtyard, which makes it easier, or you can goad him out onto the street, where you'll at least have a bit more room to manoeuvre, or encounter more enemies to get in his way.
The Specter mask
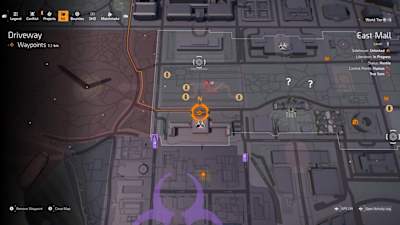
Once you're into World Tier 1, head to the contaminated zone near the Department of Agriculture. You'll find a van parked in front of the building, and if you climb on it you'll be facing 16 upper floor windows, only 13 of which are intact.
You need to be here at night (we did it in the early evening) and shoot out the lower panes of all 13 intact windows, starting with the bottom row from left to right (not missing the eighth, which is partially hidden by yellow tarpaulin), and then the top row from left to right. If you miss any of the windows, Specter won't spawn and you'll need to wait until the next night.
However, if you do it right, he'll spawn off to the right. You can get the drop on him by positioning a turret at your feet on the van roof, or by having your drone already summoned.
The Midas and Revenant masks
Right, now this one is very hard to solo, and you'll only succeed if you use the terrain and deploy the right Skills. We'd recommend a Turret for defence and a repair Skill of some sort, probably the Drone, as you'll be moving around a lot and the Hive may end up out of range.
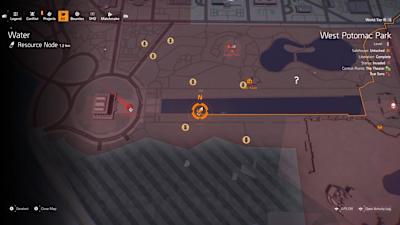
In this one, you'll have to head to an area on the map where several missions and bounties take place, where you'll find a leisure complex complete with a couple of now-rancid pools. If you stand in the water after dark and use the Jumping Jacks emote, you'll spawn not one but two Hunters, the gold-masked Midas and the Revenant.
This fight is very difficult to solo, as you're highly unlikely to have any outside NPC assistance and there's simply so much cover here. We'd suggest getting up high as quickly as possible, and using the curved stairways as cover, and dropping your Turret in an elevated position. They'll flank you, throw grenades, and constantly reposition, but it's possible to do this alone if you chip away at one and use your Skills and grenades to keep the other busy. We didn't notice either of these Hunters using armour-kits during the fight, and they seemed to favour gunplay over gadgets. Be aware that if you die, getting back into the area with them both active is a seriously tall order.
The Phantom, Diamond, Cross and Death masks
And finally, the main event. This trigger will summon four Hunters all at once, who'll obliterate you in a heartbeat. You'll need to make your way to a café just north of the Sinkhole Control Point, and you can only do this at night.
If you head inside the café after 9pm, you'll find a switch on the side of the counter that you can flip to light up the Christmas tree out front. As soon as the tree is on, your HUD will start to buzz, and you'll now need to walk out and approach the tree to cause three of the Hunters to spawn in the immediate area. It's almost impossible to face them all here, even with a group of Agents. Solo, you'll likely last just seconds.
If you manage to sprint by the first three and out onto the road, a fourth will be waiting for you there, and the crossfire will annihilate you. We spent an entire in-game night cycle fighting these four solo, and the only way to do it was to lead them into the nearby Control Point, where warring factions and the militia will provide inadvertent support.
Our advice is to equip a powerful marksman rifle, a sniper turret and a support drone, and make your way to the farthest side of the Control Point, from which point you can snipe at the Hunters, as they draw the fire of the contentious factions battling over the site. If you get caught in the open, you’ll be shot down almost immediately, and each of the four will summon Drones, Turrets, and use EMPs and seeker mines. All four will also heal with Armour kits if you give them the chance. They move around so much that focusing on one is difficult, and if they get a bead on you, and zero in, you'll need to keep moving, leading them back towards the fight.
That being said, the feeling of accomplishment when you succeed, coupled with the reward of four new masks and several Ivory keys, makes it all worthwhile.

