Gaming
Valorant is the latest hero shooter on the market, a heady mix of Counter-Strike: Global Offensive and Overwatch that somehow manages to combine many of the best aspects of the two. However, this mix means you'll need to know everything about both the hero you're playing and the map you're playing on to make sure you're fragging to the best of your abilities.
General
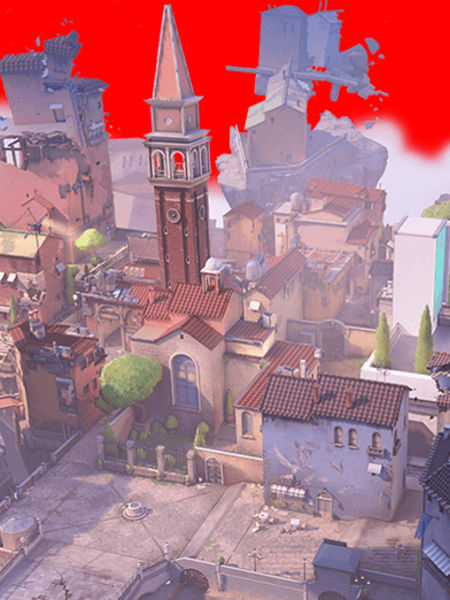
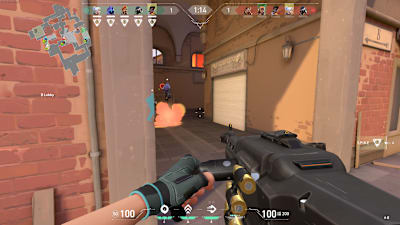
Ascent is the first ‘new’ map for Valorant, in that Haven, Bind and Split were all present in the beta of the game, and Ascent was added for launch, along with the new game mode, Spike Rush. It’s unlikely to be the last new map added either, with Riot’s hero shooter set to keep growing the longer it’s out. For now, though, Ascent helps refresh the small pool of maps on offer and brings some fresh ideas to the table. Like Split, it has a substantial middle section in between the two Spike Sites, but it has been built in such a way that a variety of approaches can lead to dominance if applied correctly. Below, we run through what those approaches are, and how to make the most of them.
Gimmick
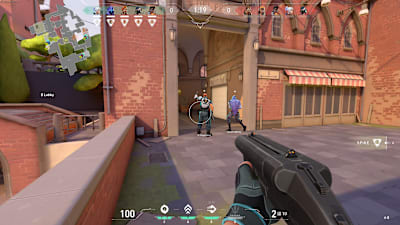
Each map has a unique aspect to help them stand out, and on Ascent, that aspect is…doors. It doesn’t sound like much, but the simple option of being able to close off a door - thus blocking the route - can have a substantial impact on gameplay.
For example, when the defending team closes the one-way door, the attackers are left with two options: head elsewhere or break the door down. Heading elsewhere means reworking your tactics on the fly, and there’s the heavy possibility that the opposition will be able to predict this, and have people waiting. Breaking it down, however, gives away your position, and exposes you to an ambush from the other side of the door. The doors aren’t as flashy as Bind’s teleporters, but they’re definitely effective.
Spike Site A
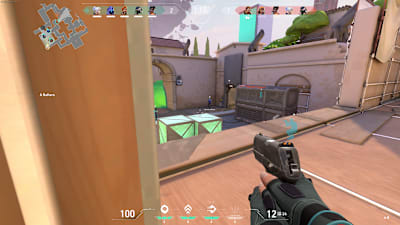
As you’d expect for a map called ‘Ascent’, towers and high vantage points have a huge role to play here. As a defender, setting up in A Rafters offers oversight of both entry points to Spike Site A and has strong cover. The biggest downfall is that it’s such an obvious vantage point that attackers will be constantly aware of it. Any competent players will either round the corners into Spike Site A slowly and try to take you out first, or they’ll use an ability like Sage’s Barrier Orb to earn some extra cover while they make a dash to the central cover.
Another option is to push through Spike Site A entirely as a defender, and nestle yourself neatly in Wine, cutting off attackers emerging through A Main. This is a much riskier strategy, but it also offers a front foot defence, and can help you pick off unsuspecting attackers who are too busy worrying about defenders beyond Spike Site A.
As for attacking, there are two main ways to go about it; either from A Lobby into A Main, or from the middle Courtyard into Cubby and then A Link. From A Main, it’s the strategy outlined above; be wary of any defenders in Wine then either try to take out enemies stationed in A Rafters or block their vision with an ability. The A Link option depends on your team being able to take the Courtyard, which can be a decisive part of Ascent. The way to do this as an attacker is to hit it through B Lobby and Mid Link.
Spike Site B
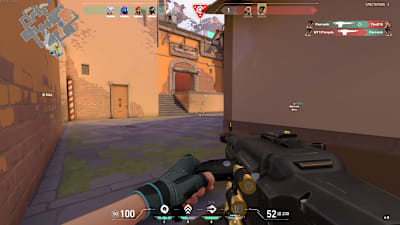
Spike Site B is perhaps the most interesting Spike Site we’ve seen so far in that there’s no substantial way to keep a tight hold, but instead you need to guard it. From the defending spawn site, you spill almost immediately into B Site, or more accurately, a vantage point just in front of the main Site. Hugging the wall, you can see anyone emerging from Market or B Main, as well as being able to turn and look back into B Site for anyone planting the Spike. While you get a good view, you’re completely exposed standing here, so defending Spike Site B really pushes you to be a more mobile, attack-minded defender.
If you really want to sit and chill out, there’s B Back, but that’s only useful once attackers have broken through into Spike Site B. You don’t want to be inviting that, so going out to hunt them is the better option.
This makes B Lobby an absolutely crucial battleground, as it helps defend not only Spike Site B, but also the central Courtyard which, by extension, can let you fix Spike Site A. If the defenders drive forward into B Lobby, they can crush any attackers before they get the chance to head for Spike Site B or move through the Courtyard. Of course, the opposite is true as well: if attackers can nix defenders here, they’ll be free to take the Courtyard and/or push into Spike Site B. Area damaging abilities like Raze’s Paint Shells can be highly effective in B Lobby.
It’s worth noting that attackers are given B Lobby as each round begins, so defenders who go in all guns blazing will likely meet their doom quickly. Identifying its power as a unit though and hitting it more tactically - perhaps even by taking it via the Courtyard by going through Pizza and Mid Bottom first - can help your team close in on B Lobby. Of course, while it’s important, it’s not make or break, so dedicating too many players to it just leaves Spike Site A all the more open.

