Gaming
Competitive FPS Valorant is Riot Games' latest title, pitting teams of five against each other in matches that combine some of the best of Counter-Strike: Global Offensive and Overwatch, requiring both incredible shooting skills and deep knowledge of both the heroes you play as and the maps you're playing on. A combination of both of these is essential to achieve some of the highest ranks in Valorant, and our guide aims to help you with just that.
General
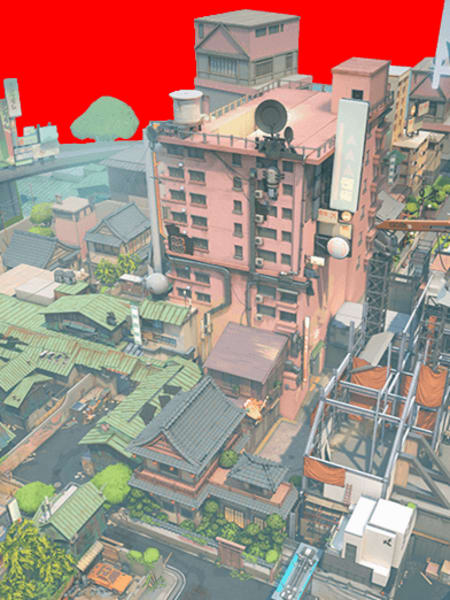
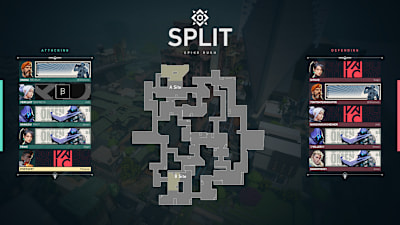
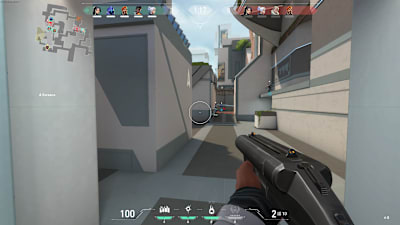
Split is an interesting map to play in that it doesn’t seem like it’s been designed for Valorant’s fairly simple objectives. The game is about holding or taking Spike Sites, and so other Valorant maps feel built around attacking or defending these sites. Split, though, has a much more meaty middle ground, which seems better equipped for something like Team Deathmatch. That mode and others may well be coming in time, and with different objectives, the map tactics may change. For now though, we’ve got the best tactics for both attacking and defending Split right here.
Defensive tactics have more value here than offensive ones, so Sage is a strong hero to use on this map, although that also puts pressure on you to use her properly. Phoenix is a great hero for a mix of tight and wide corners too, thanks to his flashbang-esque ability, so he’s a great pick when trying to overcome the defenders.
Gimmick
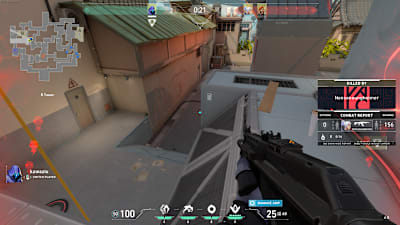
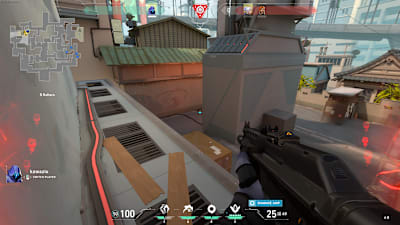
Apart from the middle ground - an exciting gimmick in itself, right now - the unique part of Split is the presence of ropes. These allow you to ascend or descend to or from raised vantage points, and controlling them can offer a significant advantage for your team. Be warned though, with ropes not only a tactical advantage but equally the most engaging part of Split’s map, people will expect the ropes to be used. As such they are sometimes either hit in numbers or by projectile powers. Using the ropes is high-risk, but can offer a high reward. If you want to be cheeky, you can even hang on the ropes, surprising an enemy and giving you the chance to score the first hit.
As for the middle ground, there’s more tips on how to manoeuvre through it below, depending on which Spike Site you’re going after.
Spike Site A
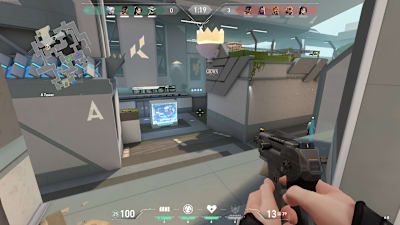
If you’re defending Spike Site A, it’s actually better to play defensively. That sounds redundant, but it’s not; on other maps, the best defence is a good offence. With Spike Site A on Split, there’s a big temptation to go on the front foot, but it’s not worth it. You’re better off just biding your time in A Screens. Spike Site A has almost non-existent cover, but A Screens is safely tucked away. You should be able to pick off any assailants approaching from A Main or A Rafters. If you do want to be on the front foot, push through to A Tower or A Ramps for those coveted vantage points.
Attackers don’t have much choice here other than A Main, so Spike Site B is probably a better bet overall. Rather than taking Spike Site A, picking off defenders first usually works out better. This means trying to loop around and taking A Screens from behind, or heading through the middle of the map towards A Tower or A Ramps yourself.
The best way to defend Split is to hold your nerve and hold your position, as tempting as a more mobile approach might be. That does leave you exposed to the attackers getting wise to your tactics, but when the other option is a no cover firefight in Spike Site A’s main arena, staying the course is a more attractive prospect.
Spike Site B
There’s a tight bottleneck from B Main into Spike Site B, and so keeping that covered is crucial to holding Spike Site B. Setting up shop in B Tower or B Rafters gives a good overview of the area, but that relies on your team controlling the midpoint of the map; difficult to do if you have people stationed in the best positions for both A and B. It’s better then to use the Tower B heroes as the mid guards, as transitioning to B from Mid is very quick as long as you communicate.
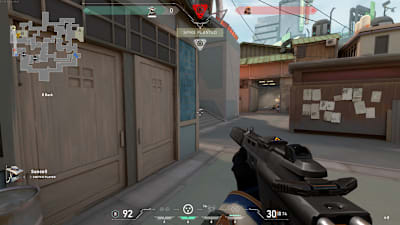
Assuming you go for Mid, the other option to defend B is B Back. It’s a safe corner and has a good shot at the B Main bottleneck, but there is literally nowhere to retreat if an enemy sneaks up on you here, so keep that in mind.
If you’re attacking Spike Site B, there is pretty much no way to do that successfully without abilities. Assuming, of course, that it’s properly defended. If the defenders are either dead or at Spike Site A, then go nuts. With a well fortified Spike Site B though, you’ll need to use walls or smokescreens - Jett’s Cloudburst as well as those mentioned above from Phoenix and Sage - to minimize the threat coming from anyone in B Tower.
From here, you’ll only have to worry about B Back Corner, but if a teammate has slipped around the back, they’ll be trapped in. With something like Cloudburst, you’ve also got the option of ignoring the Spike objective for now and heading to Mid Bottom and working your way up to any defenders who are guarding the middle. Because there are so many viable defensive strongholds on Split, you’re better off trying to pick off the defenders one by one rather than rushing immediately to plant the Spike. If you can get control of the middle ground, you can keep the defenders stationed at A and B away from each other too, cutting down on the legwork needed to gain the victory.

