Gaming
Picking your Agent to main, or even which Agent to unlock, can be challenging for new players, so we’re going to break things down to make your decision easier. VALORANT currently has 22 Agents, with a 23rd slated to release in late 2023. Each agent comes with four unique abilities that you can use to mislead, outflank, and decimate your enemies. The abilities are split up into three categories:
- Signature: The ability you will have every round no matter what, is part of that Agent’s identity, and is rechargeable during the round.
- Ultimate: Your ultimate ability that is usable after gaining ultimate points through kills, deaths, gathering ultimate orbs, and planting/defusing the spike. These are powerful abilities that can change the outcome of a round through use.
- Basic: Agents have access to two other abilities that must be purchased to be used.
Agents are split up into four different playstyle categories. You’ll naturally gravitate toward one or two of these roles once you start playing, but you should try all of them out to see what’s the right fit for you. Here’s a quick breakdown of their respective playstyles.
01
The Four Roles
- Controllers: They excel in controlling areas of the map through use of smokes and walls to create choke points your team can exploit.
- Initiators: They create opportunities for their team to enter sites through information gathering abilities and flashes.
- Sentinels: They are masters in holding entire areas of the map by themselves and cutting off enemy flanking routes with traps.
- Duelists: They are the first ones to enter sites and look for first blood in order to give your team an early advantage or to make space on a site.
When you start a new account, you’ll be able to play five agents: Brimstone (Controller), Jett and Phoenix (Duelists), Sage (Sentinel), and Sova (Initiator). Who you unlock after that is up to you.
02
Controllers
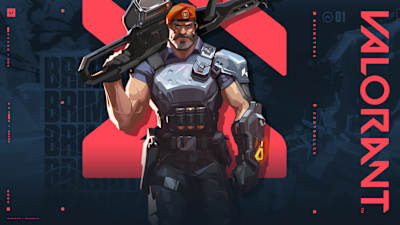
Brimstone
Brimstone is a tactician who controls the map using his smokes and buffs his allies. His Incendiary and Orbital Strike abilities are also amazing in post-plant situations to prevent the enemy from defusing the Spike.
- Sky Smoke (Signature) – Open up a small map of the surrounding area and select areas to drop smokes at. Up to three Sky Smokes can be dropped that last about 19 seconds each.
- Orbital Strike (Ultimate) – Open up a small map of the surrounding area and call down an Orbital Strike on a target area that deals a massive amount of damage.
- Stim Beacon (Basic) – Toss down a Stim Beacon in front of you that creates a small field that buffs you and your ally’s movement speed, fire rate, reload speed, and recovery speed.
- Incendiary (Basic) – Equip a grenade launcher and fire an Incendiary at a target area. Once the Incendiary comes to a rest it creates a fire zone that will damage all players. This is more commonly referred to as a Molly.
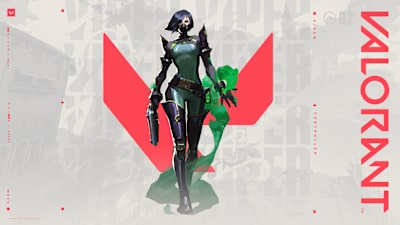
Viper
Viper is a deadly chemist who uses poison to defeat her enemies. She is one of the most versatile Agents and brings a lot of value to the team.
- Fuel (Passive) – You have a Fuel bar on your HUD that goes from 0-100. This is the amount of Fuel you have for your Poison Cloud and Toxic Screen. When it’s depleted, these two abilities will be disabled until you have enough Fuel to reactivate. Fuel automatically regenerates over time.
- Toxin (Passive) – When enemies pass through your Toxic Screen, Poison Cloud, and Viper’s Pit they are afflicted with Decay, lowering their HP.
- Toxic Screen (Signature) – Throw out a line of emitters (can go through terrain) that create a Toxic Screen when activated. You can activate and deactivate this wall.
- Viper’s Pit (Ultimate) – Send out a gas cloud originating from Viper that covers a wide area. All enemies that enter the Viper’s Pit will be afflicted by Decay and are highlighted for Viper. Viper’s Pit will last forever if Viper remains inside and lasts for 8 seconds if she is not in it. Dying will also deactivate the Viper’s Pit.
- Snake Bite (Basic) – Equip a Snake Bite and launch it toward a target area. The projectile shatters on impact and creates a poison area that deals damage over time and makes enemies vulnerable. This ability is considered a Molly.
- Poison Cloud (Basic) – Throw out a small emitter that you can activate to make a Poison Cloud (smoke). Viper can pick up the emitter and re-deploy it after a short delay.
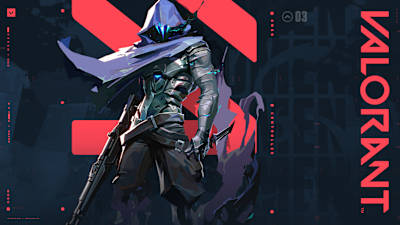
Omen
Omen is a mysterious Agent who uses his abilities to blind his enemies in darkness and get behind them by teleporting.
- Dark Cover (Signature) – Omen enters a phased out version of the map that he can navigate in order to throw out a shadow orb that will create Dark Cover (smoke) when it lands.
- From the Shadows (Ultimate) – Opens up a map and allows you to select a place to teleport to. You will spawn at the location as a Shade first, allowing you to scout the area before confirming or cancelling the teleportation. The enemy can also shoot the Shade to prevent you from completing the teleport.
- Shrouded Step (Basic) – Select a target area and after a brief delay teleport to it.
- Paranoia (Basic) – Throw out a blinding orb from your location that will deafen and apply nearsight to any enemy hit by it. Paranoia can pass through walls.
Astra
Astra is one of the harder Agents to learn and utilize effectively. Her gameplay relies heavily on map knowledge and anticipating where the enemy will be to effectively place your Stars. In addition, when placing Stars on the map you are immobile and completely vulnerable to the enemy.
- Stars (Signature) – You enter Astral Form, which puts you in a bird’s-eye view or the map, and you can place up to four Stars on the map. Reactivate the stars using your other abilities to create various effects.
- Nebula/Dissipate (Signature/Basic) – Activate a Star to create a Nebula at that location (Smoke).
- Cosmic Divide (Ultimate) – While in Astral Form, select two locations to create an infinite Cosmic Divide between the two points. This wall blocks bullets and sound for 21 seconds.
- Gravity Well (Basic) – Activate a Star and create a Gravity Well at that location that pulls enemies caught in it toward the center. The star will explode after a short delay and make enemies vulnerable.
- Nova Pulse (Basic) – Activate a Star to detonate a Nova Pulse. After a short delay it will explode and concuss any enemies caught in its blast.
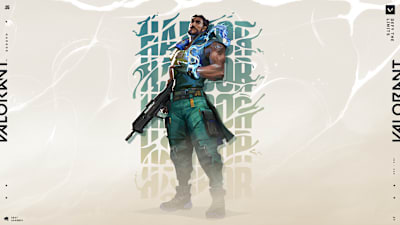
Harbor
Using the power of a relic, Harbor is a master of water. His gameplay will create walls of water that cut off angles and protect his allies.
- High Tide (Signature) – Harbor sends out a wall of water that you can guide by moving your crosshair. Enemies that pass through the wall are slowed.
- Reckoning (Ultimate) – Harbor will activate his artifact to summon a geyser in a large area in front of him. The geyser will pulse at wherever enemies are and create a small circle that will concuss them after a short delay if they do not move.
- Cascade (Basic) – Harbor sends out a vertical wave of water forward. You can reactivate to stop the wall at any time. Players hit by the wall are slowed.
- Cove (Basic) – Harbor creates a circular ball of water that acts as a shield from bullets. The shield has 500HP. Once the shield is broken, Cove acts as a smoke.
03
Initiators
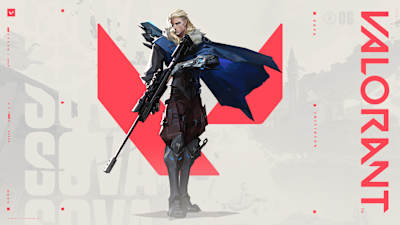
Sova
Sova brings a bow to a gun fight, but it’s not without its benefits. Using his bow, he gathers information and can send out damage from around corners.
- Recon Bolt (Signature) – Equip a Recon Bolt and select the number of bounces the arrow will take before landing as well as the power of the shot. When the Recon Bolt lands it will send out scanning pulses that will ping enemy positions if they’re in line of sight. The enemy can destroy the Recon Bolt before it reveals them.
- Hunter’s Fury (Ultimate) – Send out three long-range blasts of energy that deal damage and mark and slow any enemy caught in its blast. This goes through all terrain.
- Owl Drone (Basic) – Deploy an Owl Drone from your position. You’ll enter into the Owl Drone’s POV and control it. While controlling the drone you can shoot an enemy with a dart that reveals their position. Enemies can destroy the Owl Drone.
- Shock Bolt (Basic) – Fire a Shock Bolt from your bow that will deal damage to enemies caught in its blast. Like the Recon Bolt, you can select the number of bounces it will take and the power of the shot.
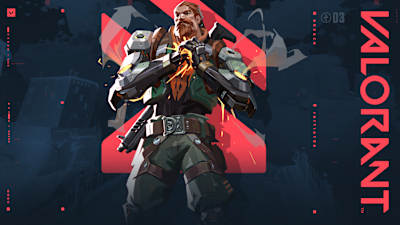
Breach
Using his mechanical arms, Breach creates chaos on the field using kinetic blasts that leave the enemy concussed and blinded. Just be careful not to hit your own teammates.
- Fault Line (Signature) – Hold down primary fire to increase the distance Fault Line travels. Release to set it off and concuss anyone caught in its area of effect. This can go through all terrain.
- Rolling Thunder (Ultimate) – Fire out a cascading quake through all terrain in front of you in a wide area. Anyone caught in its area of effect will be concussed and knocked up.
- Aftershock (Basic) – Fire a fusion charge through a wall that will pulse twice, dealing heavy damage to anyone caught in its blast.
- Flashpoint (Basic) – Shoot Flashpoint through terrain to blind all those in its line of site when it detonates.
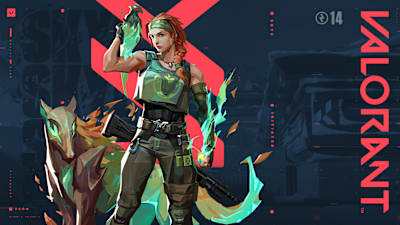
Skye
Skye utilizes her menagerie of beasts to gather information and enable her team.
- Guiding Light (Signature) – Equip a Hawk trinket that you send out and guide using your cursor. Detonate it to turn it into a flash that will blind enemies. Guiding Light will have different audio cues depending on if you flashed someone or not.
- Seekers (Ultimate) – Send out three Seekers that will automatically target the three closest enemies. If the Seekers reach the enemy it will make them nearsighted. These can be destroyed.
- Regrowth (Basic) – Channel this ability to heal allies in a large, circular radius. Allies must all be in line of sight to be healed. This ability can be channeled multiple times until the healing energy is depleted. Skye will not be healed by this ability.
- Trailblazer (Basic) – Send out a Tasmanian Tiger that you control through its POV. When you find an enemy you can launch the Trailblazer at them to deal a small amount of damage and concuss them.
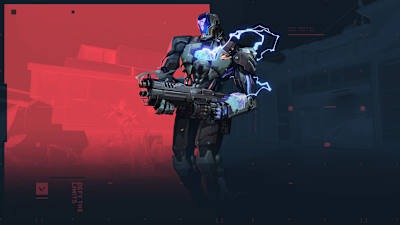
KAY/O
KAY/O is a robot from the future sent back in time. No, he’s not the Terminator, but he certainly feels like one. KAY/O is fighter who will enable his allies to get kills while also disabling the enemy from using their abilities.
- Zero/Point (Signature) – Throw out a blade that will stick into the first terrain it hits and send out a large pulse that will suppress anyone in the zone and indicate which enemies were suppressed.
- Null/CMD (Ultimate) – KAY/O overloads himself, granting himself increased firing rate, faster reload speed, and faster recovery. In addition, he periodically sends out suppressing pulses from his position. Upon death, he enters a stasis mode where he can be revived by teammates. This requires teammates to channel at his body for three seconds. If no one stabilized KAY/O within 15 seconds, he dies.
- Frag/Ment (Basic) – Throw out a grenade that will stick to the floor and explodes multiple times dealing damage. Damage is greater at the center of Frag/Ment’s pulses.
- Flash/Drive (Basic) – Throw out a flash grenade that will blind anyone in its line of sight. Blinding length depends on if thrown overhand or underhand.
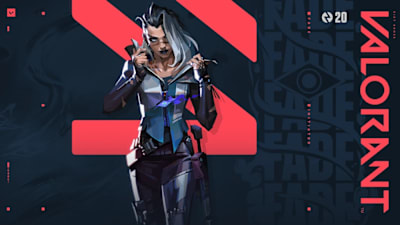
Fade
Fade preys on the fear of her enemies, sending out shadowy apparitions to mark their positions and to disable enemy Agents in various ways.
- Terror Trail (Passive) – Fade’s Haunt and Nightfall abilities will mark enemies with a Terror Trail that creates a trail on the ground that marks their movement.
- Haunt (Signature) – Throw out a ball of dark energy that will reveal and mark any enemy and create Terror Trails to them. When throwing out the Haunt, you can reactivate it to make the ball drop straight down and activate early. Enemies can destroy the Haunt before it marks them.
- Nightfall (Ultimate) – Send out a wave of dark energy in front of you that goes through terrain and marks any enemies hit by it, creating Terror Trails, deafening them, and inflicting decay on them.
- Prowler (Basic) – Send out a Prowler that you control with your cursor. It will chase down the first enemy it sees. If it makes contact with them it will nearsight them. If there is a Terror Trail out, the Prowler will immediately lock onto it and chase down that person. Enemies can destroy the Prowler.
- Seize (Basic) – Throw out a knot of fear. You can reactivate it to make the knot of fear drop early. When it lands, it will Seize enemies in a small radius and hold them in place. Enemies are also deafened and decayed when Seized.
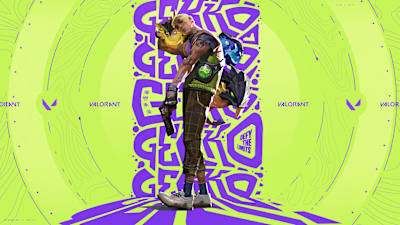
Gekko
Gekko uses his abilities (the four creatures) to blind, confuse, and disable the enemy. While his abilities can be considered weaker than other Agents’ abilities that do the same thing, Gekko’s abilities are rechargeable if he picks them up after use, with the exception of Mosh Pit.
- Globules (Passive) – Dizzy, Thrash, and Wingman will revert to a dormant globule form after use. Gekko has 20 seconds to recover them. Once recovered, they can be used again after a short delay. Thrash can only be re-used once.
- Dizzy (Signature) – Throw Dizzy out. After a short delay, Dizzy will send out plasma blasts at enemies caught in her line of sight that will blind them. Dizzy can be shot before the plasma blasts are sent out and the plasma blasts can be avoided after they are shot.
- Thrash (Ultimate) – Send out Thrash, controlling her through her POV. Hit the fire button to have Thrash jump toward an area. All players caught in the radius of the explosion are completely disabled for six seconds. Enemies can shoot Thrash.
- Mosh Pit (Basic) – Throw Mosh out like a grenade. He will explode on impact and spread out to cover a large area that does damage to anyone in it. This is considered a Molly.
- Wingman (Basic) – Send Wingman forward in a straight line to seek out enemies. If he finds an enemy he will explode in a concussive blast. When sent out, he will bounce off of walls. In addition, if Gekko is carrying the Spike, you can use alt fire to have Wingman plant the Spike. On defense, Gekko can send Wingman out to defuse the Spike. Enemies can shoot Wingman.
04
Sentinels
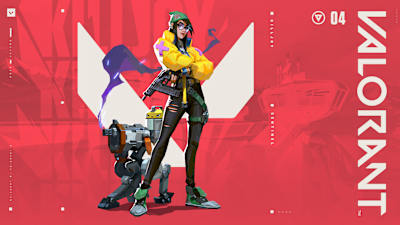
Killjoy
Using an army of mechanical companions, Killjoy locks down sites and booby traps area in order to make the enemy regret entering her territory. Players should note that all of Killjoy’s bots are destructible.
- Turret (Signature) – Deploy an automated Turret that will watch a 180 degree cone. It will automatically shoot at any enemy that enters that cone. The Turret can be recalled and redeployed after a short delay.
- Lockdown (Ultimate) – Throw down a Lockdown device that takes 13 seconds to charge up. After 13 seconds, anyone caught in the large radius will be completely disabled for eight seconds.
- Nanoswarm (Basic) – Throw down a Nanoswarm grenade. The Nanoswarm is stealthed once it is deployed but will be revealed if enemies are close enough. Activate the Nanoswarm to create a damaging swarm of nanobots. This is considered a Molly.
- Alarmbot (Basic) – Deploy an Alarmbot that is stealthed once placed. It will activate if an enemy gets near it, chasing them before it explodes and makes them vulnerable. Alarmbot can be recalled and redeployed after a short delay.
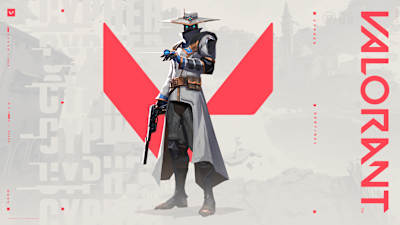
Cypher
Another mysterious Agent who deals in the unknown, Cypher is all about gathering information through various means in order to enable his team.
- Spycam (Signature) – Place a Spycam at a targeted location. Once placed, reactivate the ability to go into its POV. While in the Spycam POV, you can fire a dart that will reveal any enemy hit. Spycam can be recalled and redeployed.
- Neural Theft (Ultimate) – Throw your hat at an enemy corpse. This will download information on where the rest of the enemy team is, revealing their location for your entire team. Their locations will be revealed twice.
- Trapwire (Basic) – Place a destructible Trapwire at a target location that is stealthed. If triggered by an enemy it will slow, reveal, and concuss them if they do not destroy the Trapwire.
- Cyber Cage (Basic) – Toss out a Cyber Cage that you can activate to create a cylindrical smoke. When enemies pass through the Cyber Cage an audio cue will play letting allies know an enemy passed through.
Sage
Often considered a support Agent, Sage excels at supporting her allies and blocking off entire routes with her wall.
- Healing Orb (Signature) – Target an ally and heal them for 100 HP or target yourself and heal for 30 HP. Allies must be in line of sight to be healed.
- Resurrection (Ultimate) – Revive a dead ally. They come back to life will full health.
- Barrier Orb (Basic) – Create a large, 3-part destructible wall at target location. The wall can be rotated by using alt fire.
- Slow Orb (Basic) – Throw an orb that becomes a slowing field upon landing. Players caught in the field are slowed.
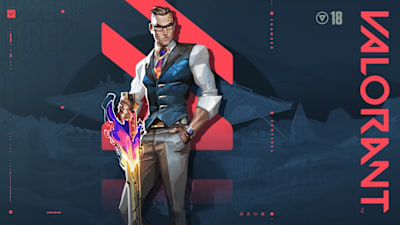
Chamber
Chamber is a weapons master who brings his own guns to the fight. This Frenchman is deadly to deal with and the bane of many low elo players.
- Rendezvous (Signature) – Place a teleport anchor on the ground. When inside its range, Chamber can reactivate Rendezvous to instantly teleport to the anchor. Rendezvous can be recalled and redeployed.
- Tour De Force (Ultimate) – Summon a custom Operator with five bullets and has a faster fire rate than a standard Operator. If an enemy is killed by Tour De Force, a slow field is created at their corpse for a short period of time.
- Trademark (Basic) – Place a trap that scans for enemies. When an enemy is spotted it will create a slowing field around them after a short delay if the Trademark is not destroyed.
- Headhunter (Basic) – Chamber equips a custom pistol that deals high damage. Each bullet costs 150 credits.
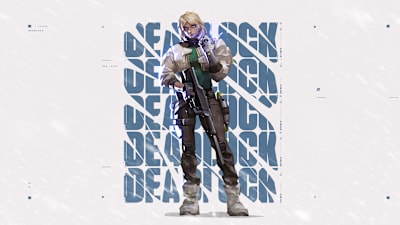
Deadlock
Deadlock is a Norwegian hunter who stops enemies in their tracks using nets and walls, cutting off avenues of attack for the enemy and forcing them into singular chokepoints.
- Barrier Mesh (Signature) – Throw out the Barrier Mesh to create a destructible wall when it lands. Unlike Sage’s Barrier Orb, the Barrier Mesh can be shot through by everyone. In order to destroy it, the anchor points at the bottom of it must be destroyed.
- Annihilation (Ultimate) – Unleash a pulse of nanowires that will capture the first enemy contacted. The enemy is put into a cocoon and will automatically travel toward the origin point of where Annihilation was cast. If the cocoon reaches the origin point the enemy is immediately killed. Enemies can break their ally out of the cocoon by shooting it.
- Gravnet (Basic) – Throw out a Gravnet that detonates when it lands. It will force any enemies caught to crouch and move slowely.
- Sonic Sensor (Basic) – Deploy a Sonic Sensor that monitors an area for loud noises. It will be triggered by footsteps, weapons fire, or other significant noise and concuss the area.
05
Duelists
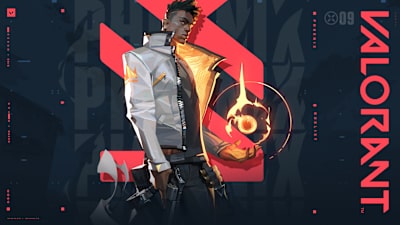
Phoenix
Phoenix is the cocky Brit who shoots first and asks questions never. His kit is about getting in close with the enemy and taking them out.
- Heating Up (Passive) – Phoenix will heal while standing in his own fire. This applies to Hot Hands and Blaze.
- Hot Hands (Signature) – Throw out a fireball that explodes upon impact. It will damage anyone who stands in the fire zone. Phoenix will heal if he stands in it. This is considered a Molly.
- Run it Back (Ultimate) – When activated, Phoenix will no longer die when reaching zero health. Instead, he will instantly respawn at the point where Run it Back was activated. This lasts 10 seconds if Phoenix is not killed, after which he’ll return to the origin point. Phoenix’s health will be full when the ability ends and his armor will revert to what it was at the time Run it Back was activated.
- Blaze (Basic) – Send out a wall of fire that can be controlled with your crosshair. Enemies that pass through it are damaged. If Phoenix passes through it or stands in it he will be healed.
- Curveball (Basic) – Throw out a short-range flare orb curving left or right that will blind enemies hit.
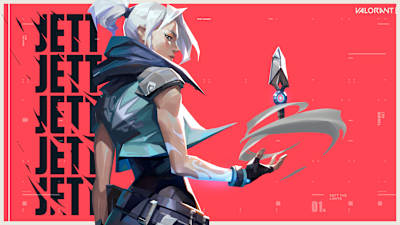
Jett
Flashy and fast, Jett dashes across the battlefield in a blur. Her kit is full of mobility that allows her to bypass obstacles and attack enemies from above.
- Drift (Passive) – Holding the jump button while falling will allow you to glide through the air.
- Tailwind (Signature) – Activate Tailwind to prepare Jett’s dash. Reactivate to quickly dash in the direction Jett was already moving.
- Blade Storm (Ultimate) – Equip five blades that each deal moderate damage. Fire to throw a knife at an enemy and alt fire to throw all remaining knives at once. If a kill is scored with a knife, the ability is recharged. Knives will not be recharged if alt fire is used. Headshots with knives will deal 150 damage for an instant kill.
- Cloudburst (Basic) – Throw out a Cloudburst that will create a short-term smoke when it lands.
- Updraft (Basic) – Activate to propel Jett upward.
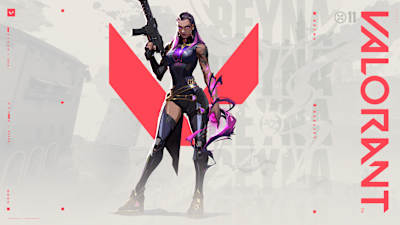
Reyna
Reyna is one of the simplest Agents. Her kit is very selfish and centered around her own gameplay. She requires good gunplay to be effective.
- Soul Harvest (Passive) – When an enemy dies to Reyna or dies within three seconds of taking damage from Reyna, they leave behind a Soul Orb for three seconds.
- Devour (Signature) – Consume a Soul Orb left by an enemy to rapidly heal Reyna. Reyna can overheal from this ability, taking her health to the max of 150, but anything over 100 HP will decay over time. If Empress is active, Reyna will automatically cast Devour, but the Soul Orb will not be consumed.
- Dismiss (Signature/Basic) – Consume a Soul Orb left by an enemy to become untargetable for a short period. If Empress is active, Reyna will instead go invisible.
- Empress (Ultimate) – Reyna enters a frenzied state gaining an increased firing rate, equip and reload speeds, and gains infinite charges of Devour and Dismiss.
- Leer (Basic) – Send out an ethereal, destructible eye that nearsights any enemies in its line of sight.
Raze
Raze is an Agent who likes blowing things up! Her abilities reflect that and deal high area of effect damage.
- Paint Shells (Signature) – Throw a cluster grenade which, upon explosion, creates sub-munitions that deal further damage.
- Showstopper (Ultimate) – Equip a rocket launcher that lasts 10 seconds. Fire the rocket to deal a massive amount of damage in a large radius.
- Boom Bot (Basic) – Deploy a Boom Bot that'll travel in a straight line on the ground, bouncing off walls. The Boom Bot will lock on to the first enemy in its frontal cone and chase them, exploding for heavy damage if it reaches them.
- Blast Pack (Basic) – Throw a Blast Pack out that will stick to any surface. Reactivate to detonate the Blast Pack damaging and moving anything hit by it. Blast Pack is primarily used to launch Raze forward in order to cross distances very quickly and catch enemies off guard.
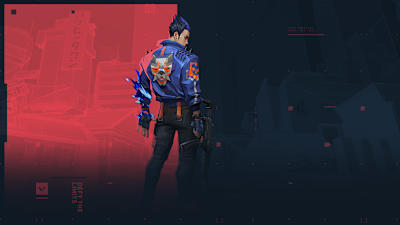
Yoru
Yoru uses the power of a relic to tear through the dimensional fabric of the world to confuse his enemies. His kit enables him to play mind games with the enemy.
- Gatecrash (Signature) – Send out a rift tether that will travel forward until blocked. Reactivate to teleport to the rift tether. Alt fire will send out a stationary rift tether and also trigger a fake teleport.
- Dimensional Drift (Ultimate) – Yoru equips his mask relic and slips between dimensions. Yoru can run around the map without being seen by enemies and then reenter the world by reactivating Dimensional Drift or letting it time out. When near enemies, they will be warned that you are near by a blue vignette around the edge of their screen with an audio cue.
- Fakeout (Basic) – Send out a clone of Yoru that will walk forward (or be stationary with alt fire). If the enemy shoots the clone it will instantly turn toward the shooter and explode, blinding all those in its line of sight.
- Blindside (Basic) – Throw out a dimensional fragment that will blind enemies after it bounces off a hard surface.
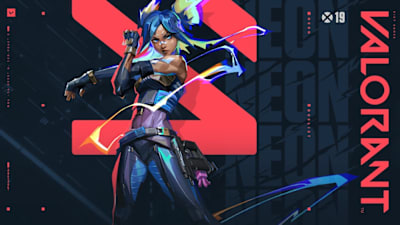
Neon
Neon is the only Agent who can sprint, allowing her to rotate faster and close the distance to the enemy at greater speed. With great speed comes greater noise, though, so be careful as your sprinting will alert everyone to your imminent arrival.
- Energy (Passive) – High Gear and Overdrive consume energy. The energy automatically regenerates at a slow rate and is completely refreshed upon getting a kill.
- High Gear (Signature) – Activate to sprint, consuming energy. Alt fire to instantly slide in any direction.
- Overdrive (Ultimate) – Neon overloads herself and goes into Overdrive mode, automatically entering High Gear. She can shoot enemies with a deadly lighting bolt that is extremely accurate over long distances and while moving. This lasts 20 seconds, unless you get a kill, which refreshes the duration.
- Fast Lane (Basic) – Send out two walls of energy in front of Neon that block enemy vision.
- Relay Bolt (Basic) – Send out an energy bolt that will bounce off the first surface it hits and land when it hits a second. At both impact points it will create a blast that concusses any enemies caught.

